

GitHub Copilot CLI
GitHub's official Copilot coding agent for the terminal
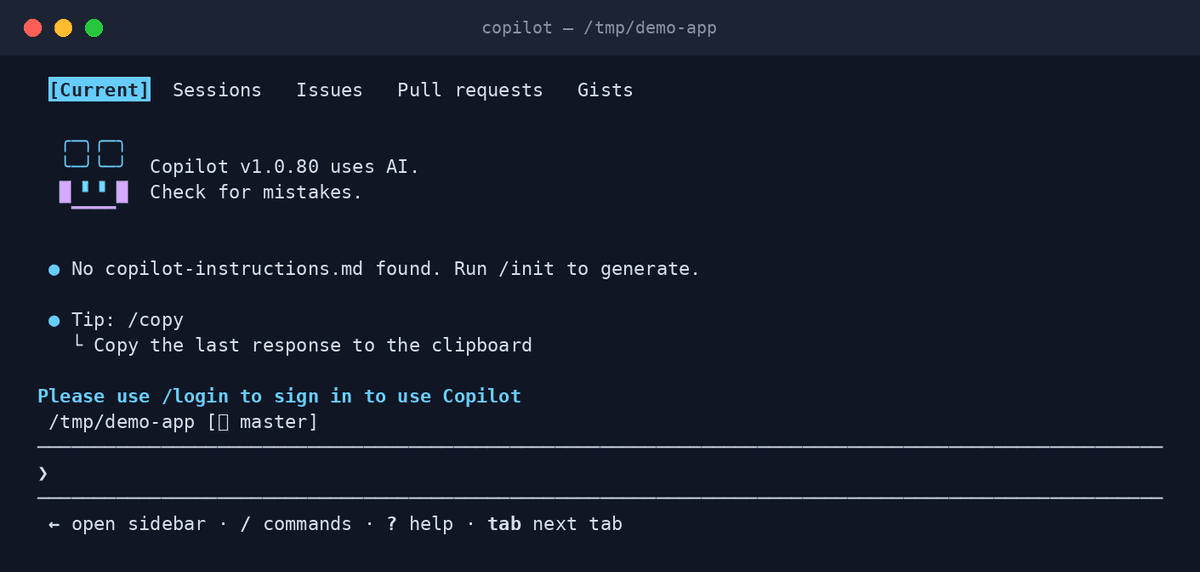
GitHub Copilot CLI brings the Copilot coding agent to your command line: build, debug, and edit through natural language, deeply integrated with your GitHub workflow.
Copilot CLI runs the same agentic harness that powers GitHub's Copilot coding agent, but locally in your terminal. It reads your project, makes changes with your approval, and stays close to GitHub — issues, pull requests, and repos are first-class objects. If your team already pays for Copilot, this is the fastest way to get an agent into the terminal with zero new vendors.
Key features
- GitHub-nativeWorks with your repos, issues, and pull requests directly — no glue scripts.
- Copilot subscription sign-inAuthenticates with your existing GitHub Copilot plan; no separate API billing.
- Agentic task executionTakes on multi-step jobs — build, debug, refactor — not just single suggestions.
- Approval-based editsProposes changes and commands for you to approve before they run.
- MCP extensibilityExtends with Model Context Protocol servers for custom tools and data.
- Same brain as Copilot coding agentThe harness behind GitHub's cloud coding agent, running on your machine.
What makes GitHub Copilot CLI different
The shortest path for GitHub teams
If your org already runs on GitHub and Copilot, there is no new account, billing, or security review — sign in and go.
Terminal and cloud, one agent
Work locally in the CLI, then hand the same kind of task to Copilot's cloud coding agent on GitHub — one mental model.
Enterprise-grade guardrails
Inherits GitHub's enterprise policy controls, making it one of the easiest agents to approve at work.
Connect GitHub Copilot CLI to OpenAgents Workspace
In a Workspace, GitHub Copilot CLI stops being a solo tool: teammates and other agents can @mention it in shared threads, hand it tasks, and follow its work from any device. Connecting takes about two minutes:
- 1Install GitHub Copilot CLI from the Agents tab of the OpenAgents Launcher — one click, and the Launcher keeps it up to date.
- 2In the Launcher, open Workspaces and choose “Add a workspace”. Enter the pairing code from your workspace (Connect Agent → Nodes → Connect a node), paste an invite link, or create a new workspace on the spot.
- 3Done — GitHub Copilot CLI appears as a member of the workspace. @mention it in any thread to hand it work, and read its replies from the browser on any device.
Frequently asked questions
What is GitHub Copilot CLI?
It's GitHub's official terminal agent: the Copilot coding agent harness running locally, letting you build, debug, and modify code through natural-language conversations in your shell.
How do I install Copilot CLI?
Install it from the Agents tab of the OpenAgents Launcher with one click, then sign in with your GitHub account. The Launcher keeps it updated alongside your other agents.
Do I need a Copilot subscription?
Yes — Copilot CLI uses your existing GitHub Copilot plan (Individual, Business, or Enterprise). There's no separate API key to manage.
Can Copilot CLI work with other agents?
Yes. Connected to an OpenAgents Workspace, it sits alongside Claude Code, Codex CLI, and the rest — @mention whichever agent fits the task in a shared thread.
How is Copilot CLI different from the old gh copilot extension?
The retired gh copilot extension suggested and explained commands. Copilot CLI is a full coding agent: it edits files, runs commands with your approval, and completes multi-step tasks.
Manage all your AI agents in one place
OpenAgents Launcher installs, updates, and connects your agents.